The Ultimate Guide to Creating a Box Packaging Layout That Pops
The Ultimate Guide to Creating a Box Packaging Layout That Pops
Why Your Box Packaging Layout Can Make or Break Your Product
A great box packaging layout is one of the most powerful — and most underestimated — tools in your marketing arsenal. Before we dive deep, here’s a quick overview of the most common box packaging layouts and when to use each:
Most Common Box Packaging Layouts at a Glance:
| Box Style | Best For | Key Benefit |
|---|---|---|
| Tuck-end box | Retail products, cosmetics | Easy assembly, low cost |
| Auto-bottom box | Heavy or bulky items | Strong base, fast setup |
| Lid-and-base (rigid) | Luxury, gifts, electronics | Premium unboxing experience |
| Mailer box | E-commerce shipping | Durable, brand-friendly |
| Drawer box | Cosmetics, jewelry | Sleek, high-end feel |
| Gable top box | Food, favors | Functional handle built in |
| Corrugated shipper | Fragile or heavy products | Maximum protection |
Packaging is no longer just a container — it’s a first impression. Research shows that 70% of consumers say packaging design influences their buying decisions. And with e-commerce demand surging more than 50% between 2019 and 2023, getting your box structure right has never mattered more.
The global packaging market is on track to hit $1.2 trillion by 2028. Brands that treat packaging as a strategic business decision — not just a creative afterthought — are the ones capturing that market share.
Getting the layout right means understanding dielines, structural tolerances, material choices, and print specs before you ever send a file to a manufacturer. One small error in your template can mean costly reprints, delays, and a damaged brand impression.
I’m Joseph Riviello, CEO and Founder of Zen Agency, and over my 22+ years in digital marketing I’ve helped countless brands use assets like box packaging layout design to sharpen their brand identity and drive real ROI. In the sections below, I’ll walk you through everything you need to know — from dieline basics to finishing options — so your packaging works as hard as the rest of your marketing.
Understanding the Fundamentals of Box Packaging Layout
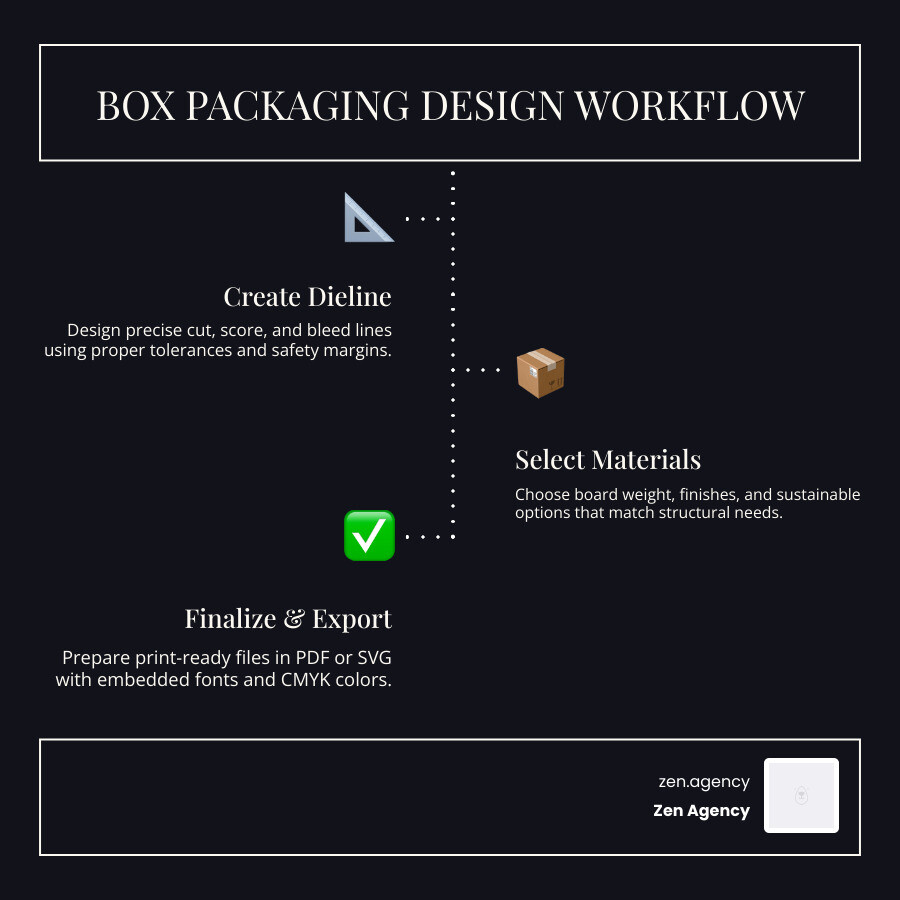
To build a box that actually stays together, we have to start with the “blueprint” — the dieline. Think of a dieline as a flattened, 2D map of your 3D box. It tells the manufacturer exactly where to cut, where to fold, and where to glue. Without a precise Die Line Layout Generator, your design is just a pretty picture that won’t function in the real world.
When we look at a professional box packaging layout, we see several types of lines:
- Cut Lines: These are usually solid black lines. They tell the die-cutting machine where to slice through the material completely.
- Score Lines: Often shown as dashed or red lines, these indicate where the material should be creased for folding.
- Bleed Areas: Your artwork must extend at least 3mm beyond the cut line. This ensures that if the paper shifts slightly during cutting, you don’t end up with an ugly white edge.
- Safety Margins: Keep your important logos and text at least 5mm away from any fold or cut line. This prevents your branding from being “eaten” by a crease.
Structural integrity also depends heavily on material thickness. A layout designed for thin cardstock will fail if you try to print it on heavy corrugated board because the folds require more “breathing room.” In our experience working with clients in Pennsylvania and Montana, failing to account for material thickness is the number one cause of boxes that won’t close properly.
Common Box Styles and Structural Variations
Choosing the right structure is a balance between cost, assembly speed, and the “wow” factor. Here is how the most common styles stack up:
| Style | Construction | Best Use Case |
|---|---|---|
| Tuck-End | One-piece folding carton | Lightweight retail (tea, soap, medicine) |
| Auto-Bottom | One-piece with pre-glued base | Heavier retail items needing quick assembly |
| Lid-and-Base | Two-piece rigid construction | Luxury watches, smartphones, high-end shoes |
| Mailer Box | One-piece self-locking | E-commerce, subscription boxes |
For heavy-duty needs, Custom Corrugated Solutions are the gold standard. Corrugated material uses a fluted inner layer to provide cushioning, making it ideal for shipping fragile electronics or bulkier goods.
If you are looking for local production, there are excellent resources like Custom Boxes Pennsylvania and Custom Boxes Montana that specialize in these varied constructions. Whether you need a simple one-piece folding carton or a complex two-piece rigid box, the layout must be tailored to the specific weight and “journey” of your product.
Choosing the Right Box Packaging Layout for Your Product
The best box packaging layout is one that fits like a glove. If the box is too tight, it will bulge or tear; if it’s too loose, the product will rattle and potentially break.
We recommend a 5-8mm clearance on all sides for luxury rigid boxes, and at least 3-5mm for standard folding cartons. This “wiggle room” accounts for protective inserts or tissue paper.
Consider the industry requirements as well:
- Cosmetics: Often require internal “vac-form” or cardstock inserts to keep small bottles upright.
- Electronics: Need precise cutouts for cables and accessories.
- Food: Layouts must often be “leak-proof” or use food-safe coatings.
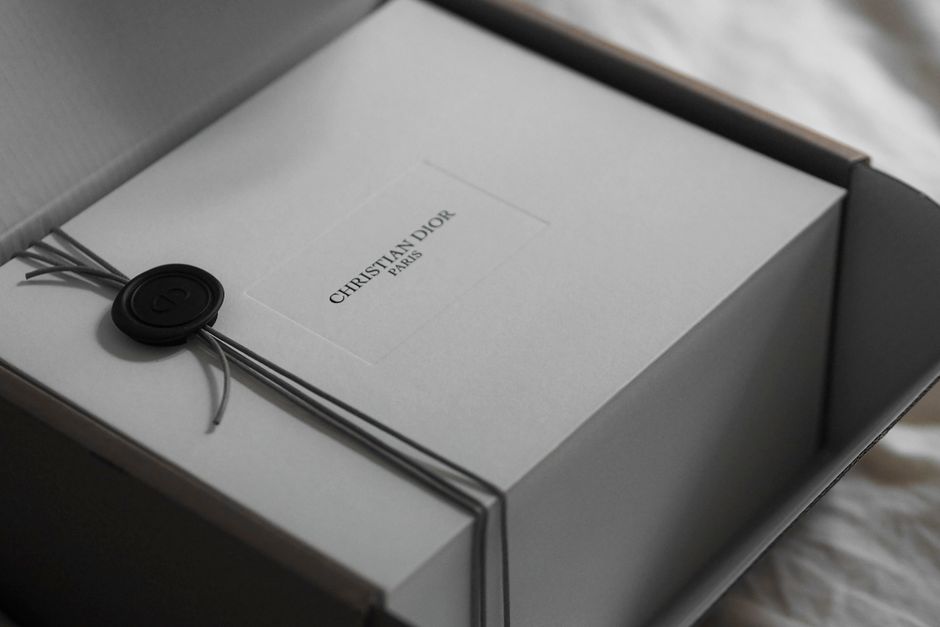
The unboxing experience is the “moment of truth.” A layout that is intuitive to open — like a magnetic closure or a smooth-sliding drawer — confirms the premium promise of your brand before the customer even touches the product.
Optimizing Your Box Packaging Layout for Sustainability
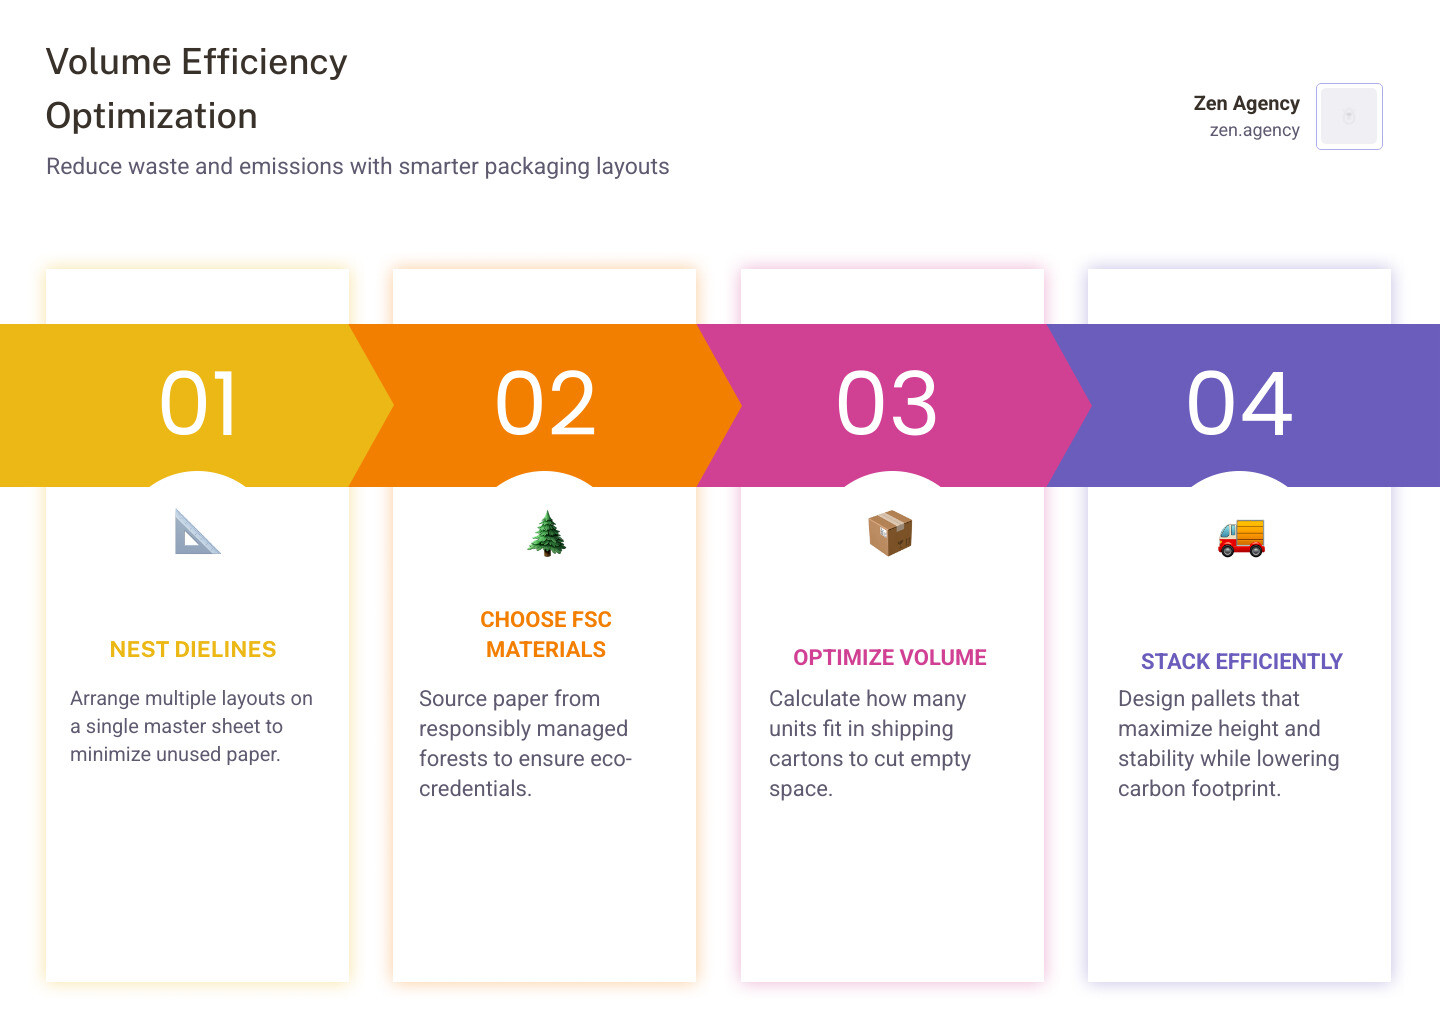
In 2026, sustainability isn’t just a trend; it’s a requirement for many consumers. You can optimize your box packaging layout to minimize material waste by nesting dielines closer together on the master sheet. This is often called “gang-run” printing or layout optimization.
To boost your eco-credentials, consider these steps:
- Use FSC-certified materials: This ensures the paper comes from responsibly managed forests.
- Choose Kraft paper: It’s easily recyclable and has a natural, organic look that many modern brands love.
- Volume Efficiency: Use tools like a Box Optimizer to calculate how many units can fit into a shipping carton. Reducing empty space reduces your carbon footprint and shipping costs.
Technical Specifications for Professional Production
Once your design looks great, it has to be “print-ready.” Professional manufacturers are picky about file formats, and for good reason.
- Preferred Formats: Adobe Illustrator (AI) is the industry standard because it preserves vector quality. PDF and SVG are also widely accepted. Avoid sending raster files like JPEGs, as they will appear blurry when printed at scale.
- Color Accuracy: Use Pantone (PMS) references for your brand colors. CMYK is okay for full-color photos, but for a logo, Pantone ensures your “Zen Blue” looks exactly the same in Scranton as it does in Billings.
- Vector Quality: All lines and logos should be vectors. This allows the manufacturer to scale the design without losing sharpness.
- Font Embedding: Always “create outlines” for your text so the printer doesn’t need to own your specific brand font to view the file correctly.
If you’re feeling overwhelmed by the technical side, you can find more info about branding and graphic design services to help bridge the gap between a creative idea and a production-ready file.
Designing for Impact: Branding and Finishing
Your box packaging layout has three primary communication surfaces: the exterior, the interior lid, and the base. Each is an opportunity to tell your story.
To truly stand out, consider “finishing” options that add tactile value:
- Foil Stamping: Adds a metallic, luxury shine to logos.
- Spot UV: A clear, glossy coating applied to specific areas to make them pop against a matte background.
- Embossing/Debossing: Raising or receding parts of the paper to create a 3D texture.
Before committing to a massive print run, use 3D packaging and mockup solutions to see how your graphics wrap around the corners. You can also discover 1000+ creative box packaging ideas to see how other brands use visual hierarchy to guide the customer’s eye toward the most important information first.
Frequently Asked Questions about Box Packaging
What is the difference between a dieline and a box template?
While the terms are often used interchangeably, a box template is a general shape (like a standard cube), whereas a dieline is the specific, measurement-accurate technical file used for a specific production run, including bleeds and glue tabs.
How much clearance should I leave between my product and the box walls?
For most retail products, a clearance of 3mm to 5mm is standard. For luxury items or those using thick foam inserts, you may need 5mm to 8mm to ensure the product doesn’t feel cramped and the lid closes smoothly.
Which file formats are preferred by professional packaging manufacturers?
Vector-based files are a must. Adobe Illustrator (.AI) is the top choice, followed by high-resolution PDFs and SVG files. These formats ensure that lines stay crisp and the die-cutting machine can read the paths accurately.
Conclusion
Creating a box packaging layout that pops is a blend of engineering and art. From the initial dieline to the final foil stamp, every millimetre matters. At Zen Agency, we specialize in providing enterprise-grade solutions for businesses looking to scale. Whether you’re in Pennsylvania or Montana, we understand that your packaging is a vital link in your digital and physical marketing chain.
We don’t just design; we strategize to increase your visibility and ROI. Ready to turn your packaging into a high-performance brand asset? Request a quote for your next packaging project and let’s build something that stands out on the shelf and in the mailbox.